
Apple officially launched OS X El Capitan and millions of Mac users around the world are emphatically searching for ways to download and install this new piece of software. El Capitan was announced a few weeks ago and people were waiting for it as it promises a lot of stability, great new features and control. There are two options to install OS X El Capitan in your Mac. The first one is to upgrade your existing OS X, be it Yosemite, Mountain Lion etc. The second option is to clean install OS X El Capitan.
Clean Install OS X El Capitan or Upgrade Your Existing OS X to El Capitan
Clean Install El Capitan
In order to clean install OS X El Capitan, you must have a USB with 8GB free space. This USB will be used exclusively for downloading and saving Mac OS X El Capitan.
Related Read: Check If your System is Compatible with OS X El Capitan
Note: In order to clean install OS X El Capitan in Mac, you will have to erase your hard drive contents completely show below. So make sure to back up.
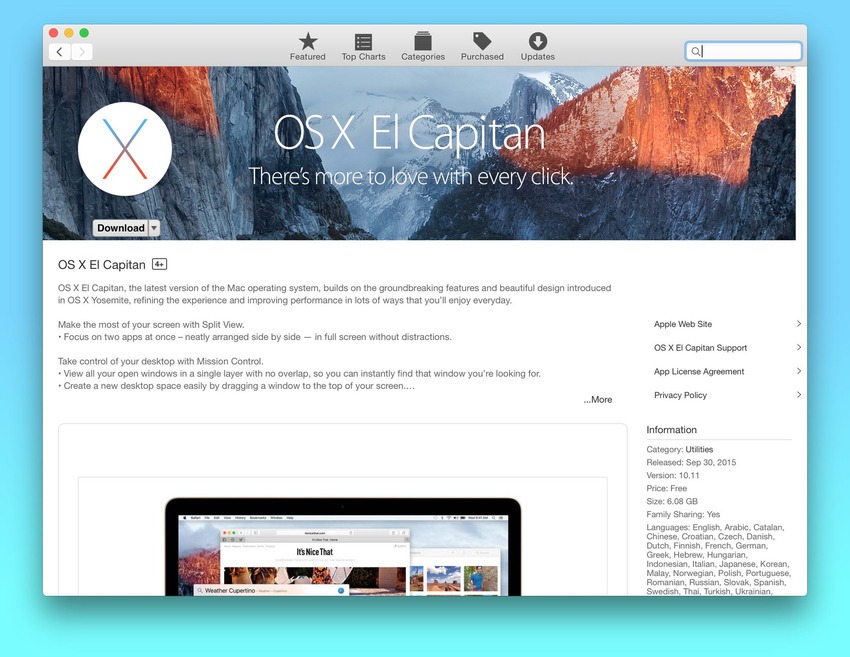
Next, you need to download official OS X El Capitan, which is available from Mac store.
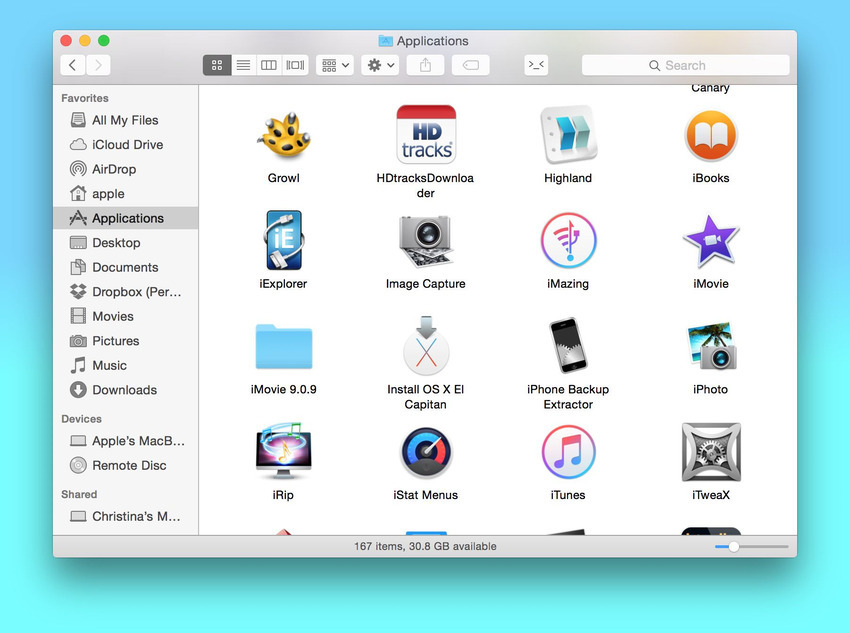
The OS X El Capitan file will be downloaded in the Applications Folder in your Mac in the form of a file titled Install OS X El Capitan. Its size would be around 6 GB.
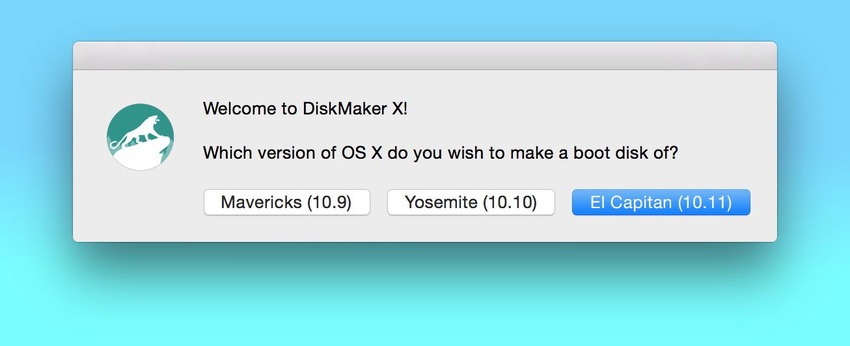
Here comes the key part. You should now format your USB drive and make it bootable in order to save the El Capitan file in it. In order to make a USB bootable, there many different ways. I would suggest the easiest, which is to use DiskMaker tool. This tool is recently updated to support El Capitan. Just use it, select El Capitan when asked about for which OS you want to make the USB bootable. [Download DiskMaker latest version].
Now that you have created the bootable, it’s time to install the El Capitan in it.
Restart your Mac and keep holding Options key. After the booting, choose the USB drive that says “Install OS X Yosemite.”
Now click on “Disk Utility” and then select your main hard drive where you want to install the OS.
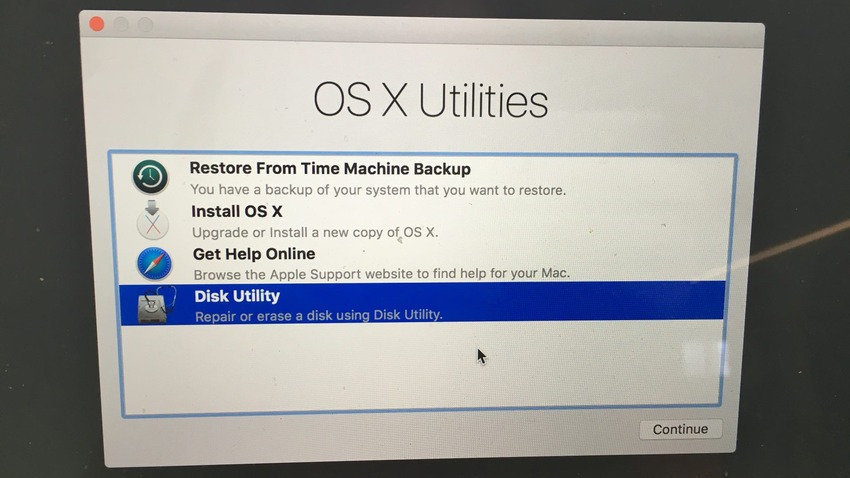
Press “Erase” on the volume.
Now click on “Install OS X” by going back to the main menu.
Select your internal hard drive when prompted and continue with the installation.
After installation of OS X El Capitan, you can use Time Machine tool to restore the contents of your hard drive.
Upgrade Existing OS X To El Capitan
In order to upgrade from existing OS X to OS X El Capitan, just take a backup of your current data, run “Install OS X El Capitan” installer app, agree to the terms.
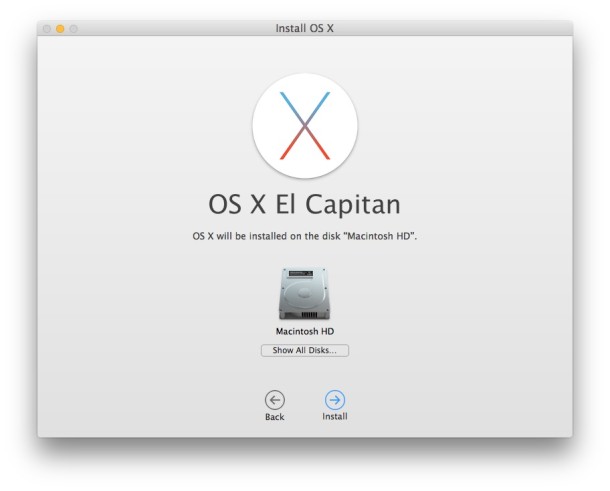
Now just select the target place on your hard disk where you want to install the new OS. If you are upgrading, the new OS X will be installed where the current OS X is running, which is mostly “Macintosh HD”. Select this drive and click Install.
In case of any confusion, problem or feedback, feel free to comment on this post and I will get back to you to fix your issues.
Images: Mashable, OSXDaily