Installing Xcode 5 on Windows 7 and Windows 8 or 8.1 for iOS SDK (Guide)
You must have Apple hardware with OS X installed on it if you desire to build apps for the iPhone or iPad by using iOS SDK with Xcode and then upload it to the App store. You can’t install Xcode kit for any other operating system other than OS X. This is due to many reasons and compatibility issues. However, if you are insistent on installing Xcode 5 on Windows 7 or Windows 8 (and Windows 8.1) then this guide should be helpful to you. We will show you how to install Xcode 5 on a Windows PC by using virtual latest Mavericks OS X.
By employing this method, you can easily develop and simulate basic apps on your Windows PC. First, you need to have a virtual machine of MAC OS X on your Windows PC. After that you can easily install Xcode on a normal Windows PC.
This method must be used for learning purposes only. If you are a professional developer, you must buy Apple hardware with OS X and original app developer ID. You must use Xcode on your Apple hardware when you want to test the app on the real Apple device.
Prerequisites to Install Xcode 5 on Windows 7 or Windows 8/8.1
- Functional OS X virtual machine on VMware or VirtualBox.
- Downloaded Xcode 5 package from the Apple site. For this purpose, you need to have a valid Apple ID to download Xcode from Apple store.
Steps for Installing Xcode 5 on Windows 7 or Windows 8/8.1 PC
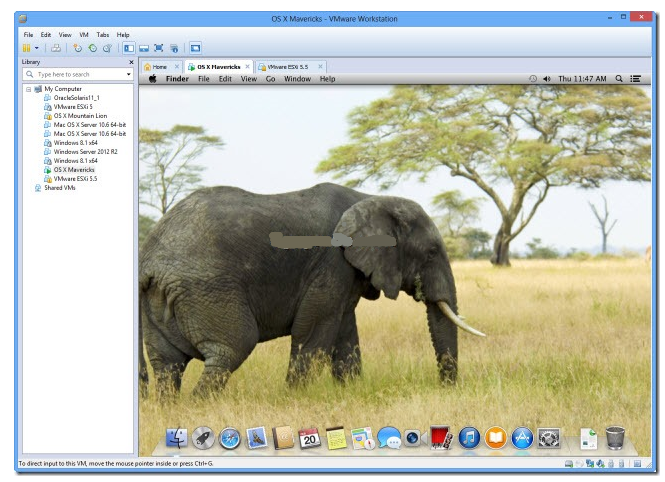
- Employ useful method to install Mavericks OS X virtual machine on VMware workstation with Windows OS as a virtual machine. The guide presented in the link is quite simple and presents the easiest method to have a working Mavericks OS X on a Windows PC.
- Make sure that the internet is working fine inside the virtual machine. You must have a valid Apple ID to login to the App store and download the required app.
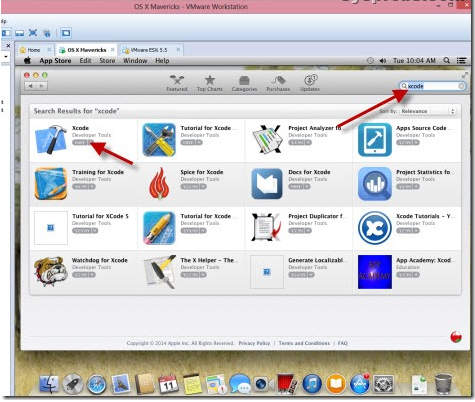
- Search for the “Xcode” in the search bar as demonstrated below.
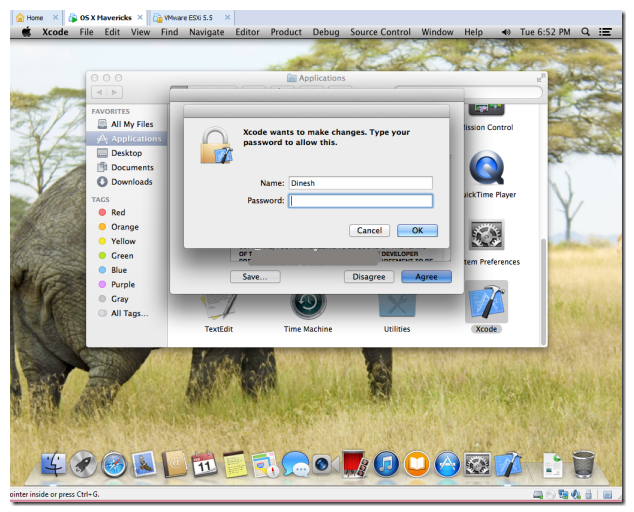
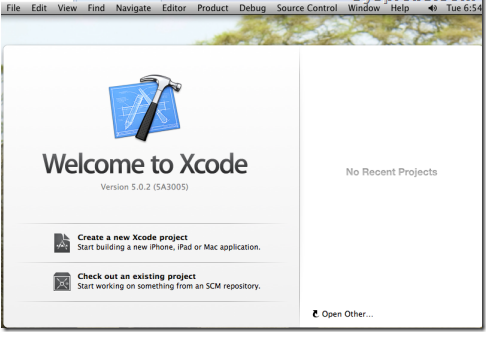
- Click on ‘Free’ and ‘Download’. Hit ‘Ok’ when the next confirmation dialog box appears. Once the installation is complete, open it up. You must have root access privilege for installing Xcode components and for modifying the system settings.
- That’s it. You are successful in installing the latest version of Xcode on Windows PC by using virtual Mavericks OS X. The same method works for VMware Player and VirtualBox as long as you have a working OS X virtual machine with the proper internet connection.
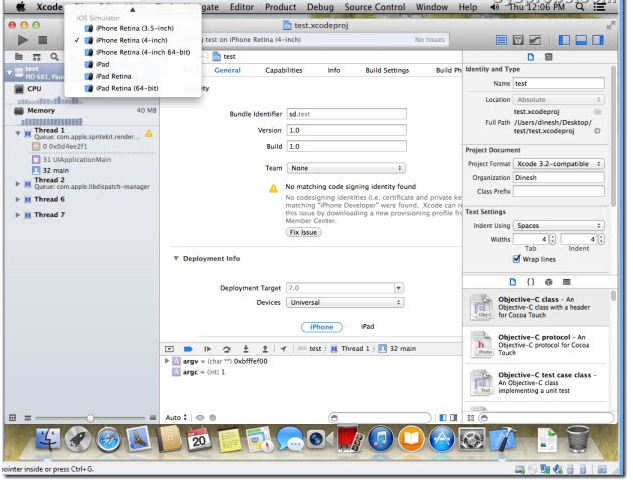
- The performance of Xcode is quite good. You could easily create a new app project and view it in the iOS simulator. All works fine, but the process slows down somewhat. One thing is for sure is that this method is not good for professional developers. This method works fine for learning purposes only.