
Windows was a name first given to the Operating System on the analogy of the User Interface frame that each separate program had of its own. They could be easily resized and manipulated separately. This resizing feature, however, is sometimes not easy to manipulate for certain windows. When you click the ‘Save As’ option for some of your task in a program, it shows a fixed size window for the browsing option and the small default size can be not so much of a help when choosing from a long list of items.
If you want to resize the ‘Save As’ window, here is how you can easily do it and let the Windows (7 and above) save the size as a default for future displays:
Set ‘Save As’ window’s default size
Open a file in any program of your choosing, be it notepad, MS Word or Paint.
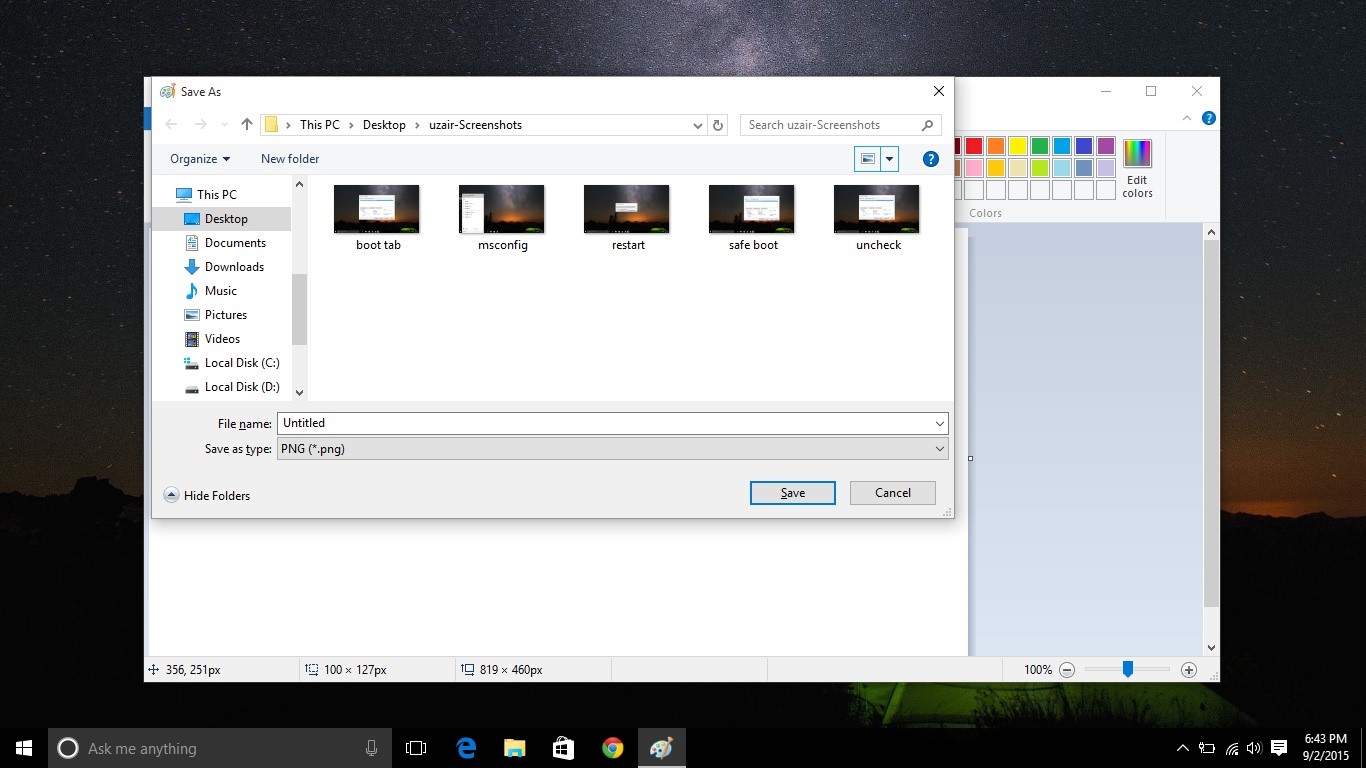
Click the ‘Save’ button or press Ctrl + S to get the ‘Save As’ window.
Resize the window by dragging it from the sides. Keep in mind that new size must show at least one complete row or column of items.
This will be saved;
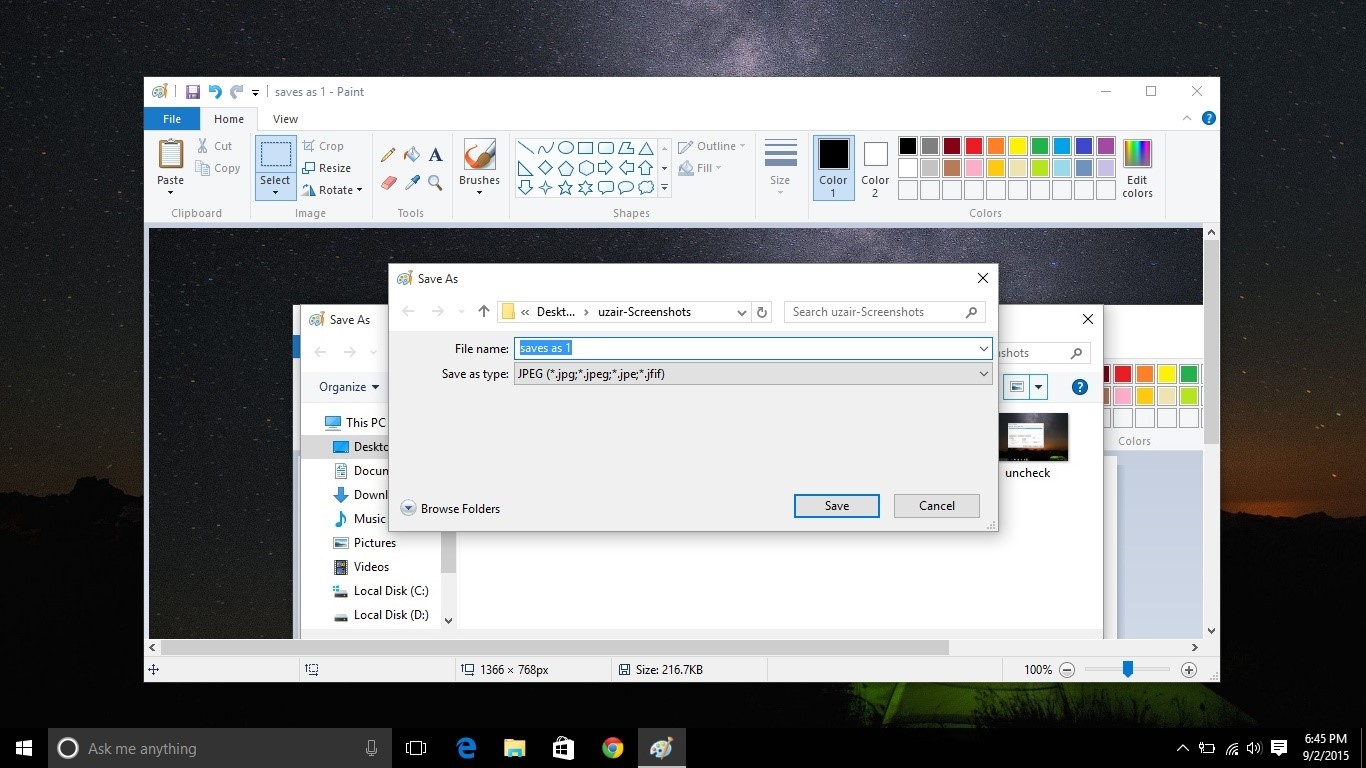
this will not:
Now hold down Ctrl key and click on the cross button on the right top of this window.
The job is done. Windows will remember the default size of the ‘Save As’ Window that you just created and next time you need to save anything, this new default size will appear.
The default size altered in this way is remembered by Windows for one program only. If you want to resize the default size of the ‘Save As’ window, you will have to do it separately for each program. For instance, if you have done the above process for MS Word, you will have to repeat it for MS Power Point or any other program. This was how to change save as windows default size. Let us know in the comments in case of any problem or feedback.