Enabling Ping on Windows Server 2012 R2 Firewall (Guide)
Ping command is very useful for monitoring PCs and IPs residing on the local area network. Windows Server 2012 doesn’t support Ping command by default without manipulating the Firewall settings. The Ping command may also be disabled because someone else has disabled its rule in Control Panel. This article sheds some light on how to enable Ping on Windows Server 2012.
Simple Approach for Enabling Ping on Windows Server 2012 R2
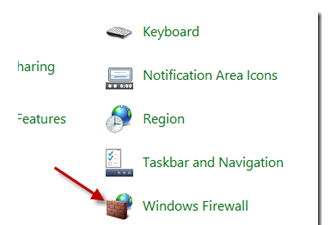
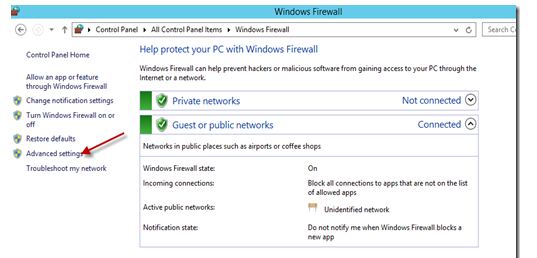
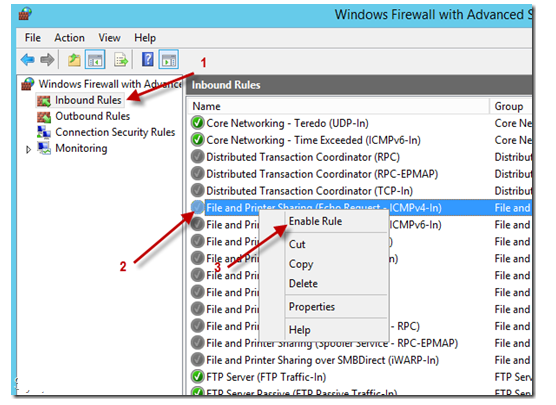
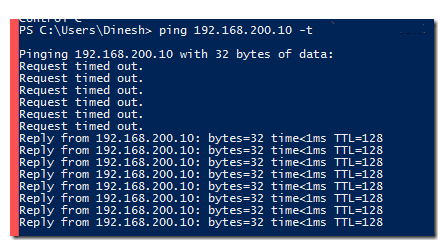
The following method discusses the procedure for turning On PING commands on Windows Server 2012 R2 that is equally valid for Windows Server 2012. Go to your Control Panel from Windows charm bar or from the search bar by typing “control”. Go to Windows Firewall. Now, click on “Advanced Settings”. The new rule should be established for allowing ICMP packets which would be helpful in using PING command. The rule is already present in Windows Server 2012, and you just need to enable it. For this purpose, select “Inbound Rules”. Search and right-click on “File and Printer Sharing” (Echo Request-ICMPV4-In). Choose the option of Enable Rule. Now, ping requests are allowed on Windows 2012 R2 Server. You need to respond to them without complexly disabling the firewall service. Your device has now become pingable. The following screenshot shows the response of Windows 2012 R2 Server after enabling the Ping command. It should be a very simple guide to follow. You must now be able to ping different IPs from your PC.