Photo by Lautaro Andreani on Unsplash
If you’re reading this, you must have trouble installing Node.js on your Linux PC. However, this article talks about Ubuntu 20.04 ecosystem. The tips described herein still apply to the earlier version of the distro; Ubuntu 20.04, Ubuntu 18.04, and earlier versions.
Install Node.js on Ubuntu 20.04
Be that as it may, let us not waste words with the fluffs and bluffs.
Step 1 – Head over to Nodejs.org
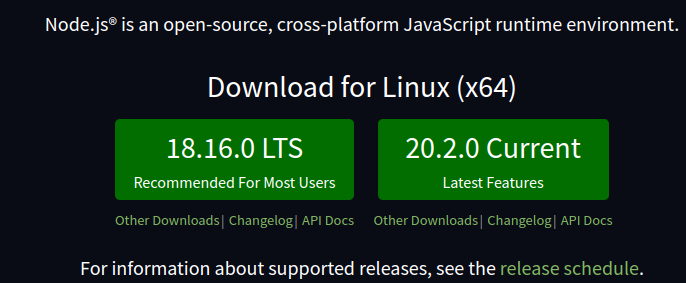
Go to the official website to download the genuine package. That is nodejs.org. You will notice there are two variants:
- –LTS (Long-Term Support) – This is the most stable version and has been in the market for quite some time. It is advisable to always go for the LTS version, as it is less likely to throw up any bugs.
- –Current version – This is the latest version, not the beta version. However, the fact that it is still new might throw some bugs. You should typically avoid this version unless you are a super-pro-coder who can handle the possible kinks.
When writing this article, the LTS version was Node.js 18, and the current version was Node.js 20.
Step 2 – Download the Node.js zip file
Step 3 – Awaken the Terminal
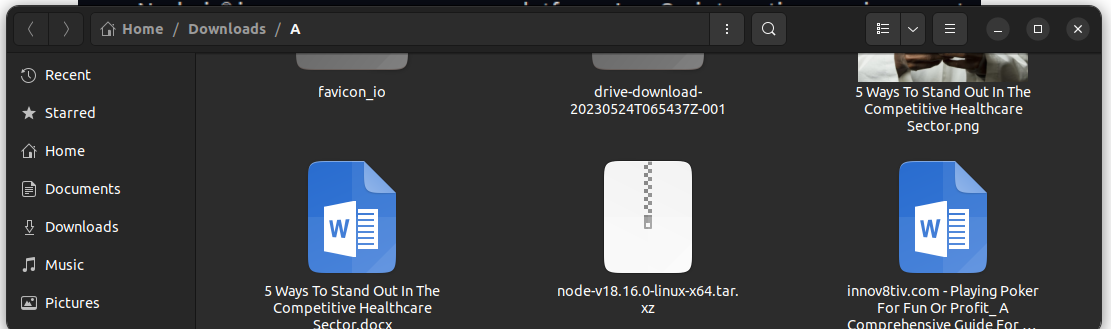
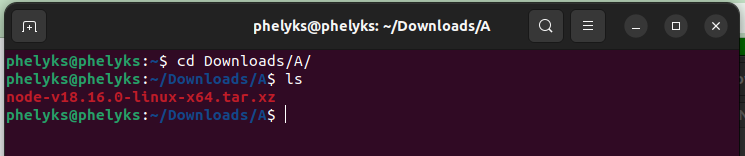
With the Nodejs zip file in your download folder, it is now time to bring up the Terminal. There are a couple of ways of doing that, but my favorite shortcut is ctrl + alt + t. With the terminal up and running, navigate to the download folder.
Your zip file should be in the Download folder, but in my example above, it is in the Download/A folder. Yours might look like cd Download depending on your browser’s default download location.
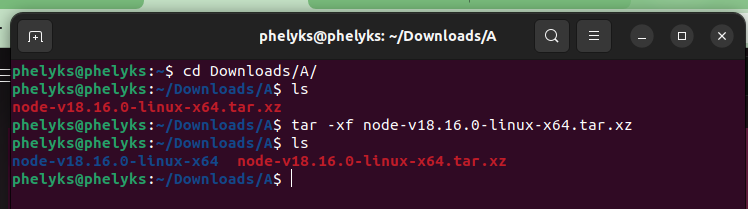
The file is wrapped inside a tar archive, and you can use the following CLI command to extract it into the standard folder format using the following CLI tar command:
tar -xf node-v16.14.2-linux-x64.tar.xz
After running the above CLI command, you will have extracted the tar zip file into a normal folder. You can confirm this in Terminal using the ls command.
The nodejs. Version 18 folder is now ready to be moved from the Download folder and into the Home folder. You can do that using the following command:
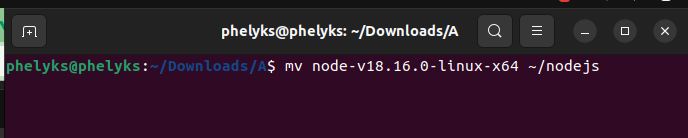
If you navigate to the Home folder, you will now see a new folder called nodejs. In which you moved the nodejs v18 files.
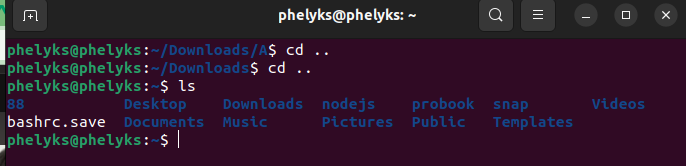
Navigate into the bin folder, which is where you will find everything you need – Node and NPM – exists. However, the node is ONLY accessible from this directory, but you need to make it accessible across the Linux system.
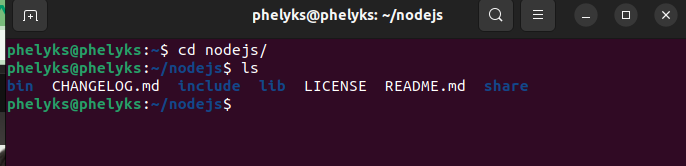
Edit the bashrc file
To make node accessible from anywhere in the system, you must add it to the bashrc file. To do that, navigate back to the home folder, and type in the following CLI commands:
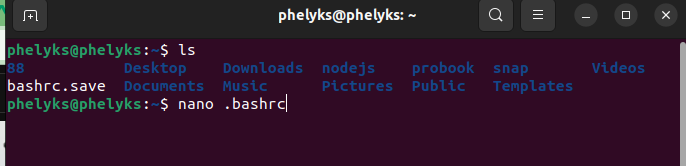
Now scroll to the very bottom of the bashrc file. To add a new folder to the system’s PATH, you will need to use the export command:
export PATH=$PATH/home/phelyks/nodejs/bin
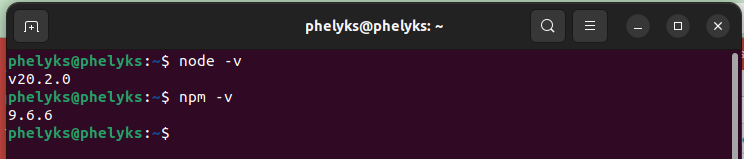
When you open the terminal again, you can run node -v, and you should see nodejs is installed across all your Ubuntu 20.04 system.