
When you click or type a word on your PC or laptop, a request goes from the peripheral devices to the hard disk which writes the data block on the secondary memory. Hard drive is a quintessential feature of the modern day computing devices. Solid State Drive (SSD) is the trend these days. If you have an SSD in your PC or laptop, rest assured that your data access time is minimized and your computer performance is great. However, there are some caveats which prevent SSDs from working at their top performance. Many people quickly get SSD in their computers, but fail to use the useful software features which promise the amazing performance and exploit the full potential of the hard drives. There is a command known as “TRIM” which enhances the performance of an SSD to great extents. How? When SSD is occupying space, it keeps removing the junk data by itself whenever it needs more space. This process slows it down as it has to figure out all by itself what to do in times of need.
Optimize and Speed Up SSD Performance in Windows 10 Using a Simple Command
TRIM command tells an SSD in Windows 10 or any other operating system about the areas which should be deleted when in need of more space. This optimizes SSD in Windows 10 and you get to use the SSD at its full speed.
Now, there are scarcely any SSDs which run the TRIM function all by themselves. You have to run the command in order to check whether the TRIM is enabled or not. In order to do that, open command prompt by going to “Run” and typing “cmd” and type the following commands. Please note that you will need administrator rights to run this command as it is a system level call and needs admin rights.
fsutil behavior query DisableDeleteNotify
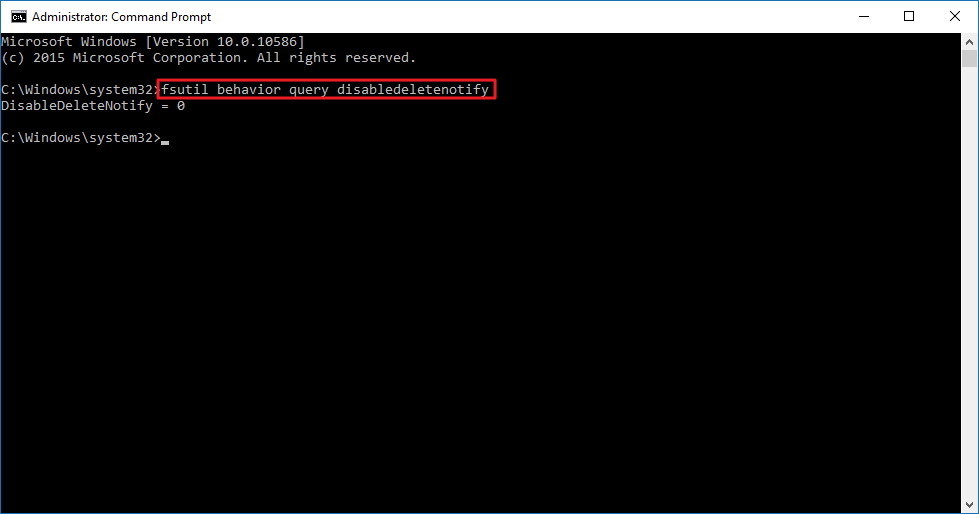
Image: windowscentral
After executing the above command, you will get one of the two results: 0 or 1. If you get a 0, that means that the TRIM function is already in action. You don’t need to do anything now. But if the result is 1, you should enable the TRIM command. Here is how to do it.
Type Windows + X to open the command prompt or do that from the run box. Now type the following command.
fsutil behavior set DisableDeleteNotify 0
That’s it. This was how to speed up and optimize SSD in Windows 10 using a simple command. After running the above command, you can verify whether the TRIM feature is enabled or not by running the fsutil behavior query DisableDeleteNotify command. If the result of this query is 0, the TRIM function has been activated.