Windows 10 has brought some drastic changes in Windows interface, looks and features. File Explorer has been renamed as Windows Explorer, and there will be no control bar just below the address bar. The control bars have been replaced by ribbons, which make everything look clean and categorized. In Windows 7 and Windows 8, you must have noticed the “Burn” to disk option as soon as you clicked any file in the File explorer. In Windows 10, it seems this option is only for a limited number of file types, so naturally, many users are panicking. But don’t worry, you can still burn any type of file to disc. It’s just the position and place of the option that is changed. Here’s how to burn and mount ISO image files natively in Windows 10 without any software.
Mount, Burn ISO Image Files Windows 10
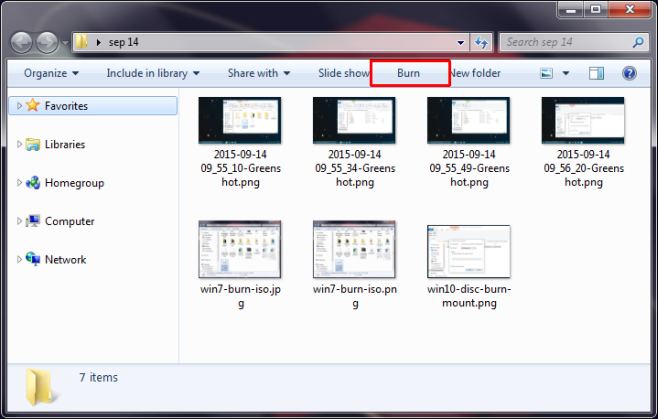
In Windows 7, things look something like this.
But in Windows 10, the option to burn or mount is not visible straight away. The option to burn or point appears when you select any file (the file should be burn-able and mountable, like ISO file) and then click the “Manage” tab from the top as shown in the image.
In the manage tab, you will see two options: to burn disc or mount. You can select any option according to your choice.
If you choose mount file option, you will be shown files and options to proceed accordingly. If you choose burn, you will be shown the appropriate options to complete the task.
This is how to mount, burn ISO images natively in Windows 10. In case of any confusion and question, feel free to comment on this post and we will get back to you.
Images: AddictiveTips


