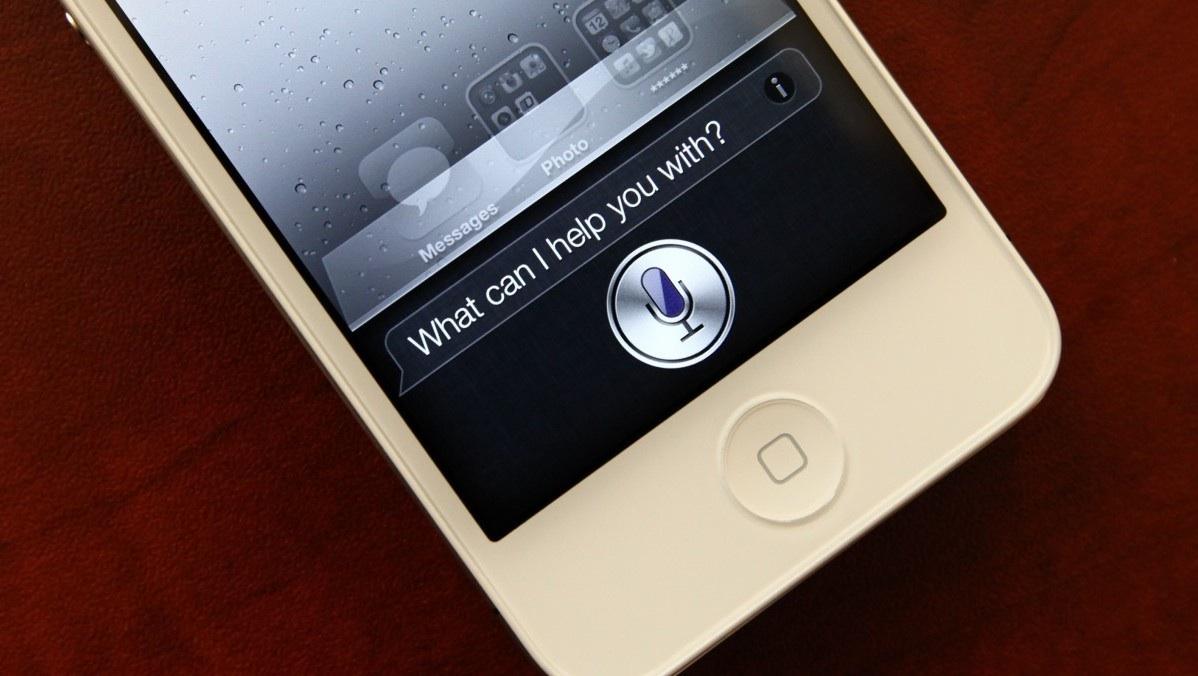
Ever found yourself in the company of several Apple devices (or as I like to call them iDevices)? You have your iPhone (or several iPhones), and in the same vicinity, there is the iPad (or iPads), Apple TV, and Apple Watch.
You call out ‘Hey Siri’ and they digital assistant in all the iDevices spring to action. It can be really stressing because you want only one of the iDevice to answer you, but now, every device is responding at the same time.
Although in the latest iOS, Apple has designed it in such a way they recognize they are many iDevices in the vicinity and only one will answer your queries. However, they will all be triggered at first before Siri continues working on just one of the iDevice.
How to turn Disable Siri quickly without digging deep into Settings
To quickly disable Siri on your iDevice, without opening the Settings apps and going through complicated alterations, use one of the following hacks we have come across:
#1 – Place your iPhone or iPad facing down
This trick is a no-brainer. To temporarily disable Siri, simply place the iPhone or the iPad face down on any surface. Doing that will stop the digital assistant from responding to ‘Hey Siri.’ This trick is probably the easiest and quickest way to temporarily disable Siri on any iDevice.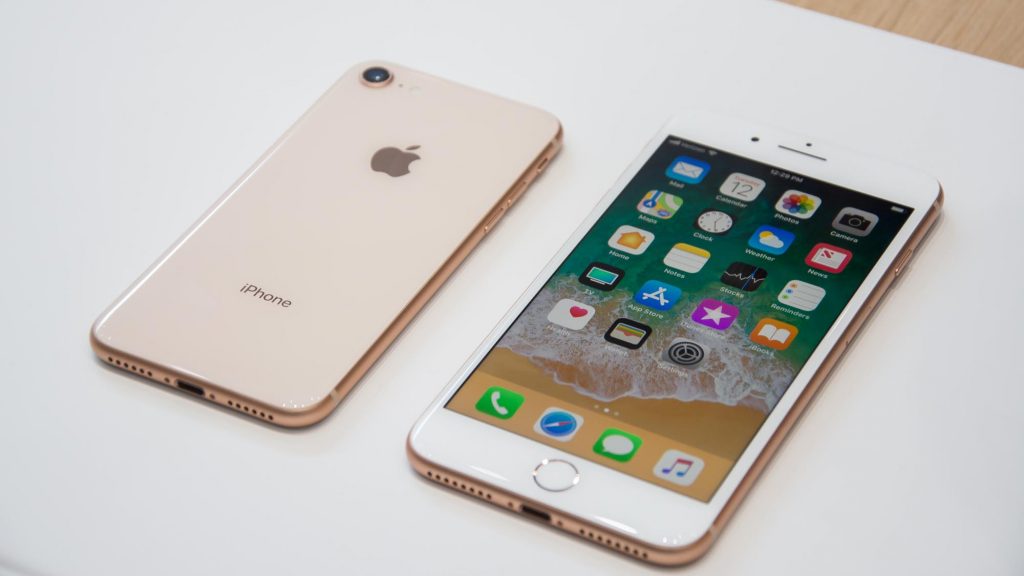
However, should this trick not work on your iPhone or iPad, you might need to do a little tweak in the next tip.
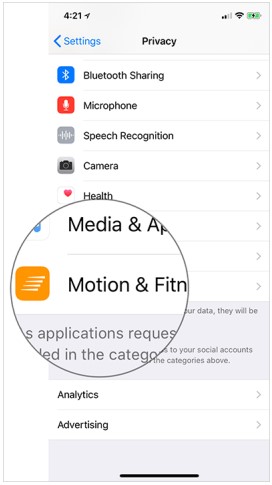
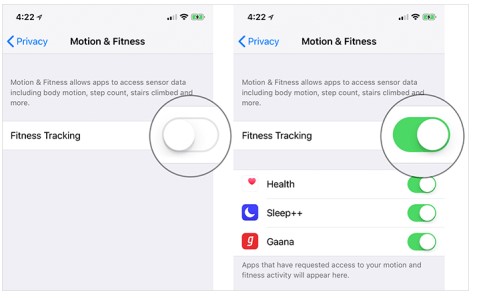
Turn On the Fitness Tracking
The slider on the Fitness Tracking, slide it to On position.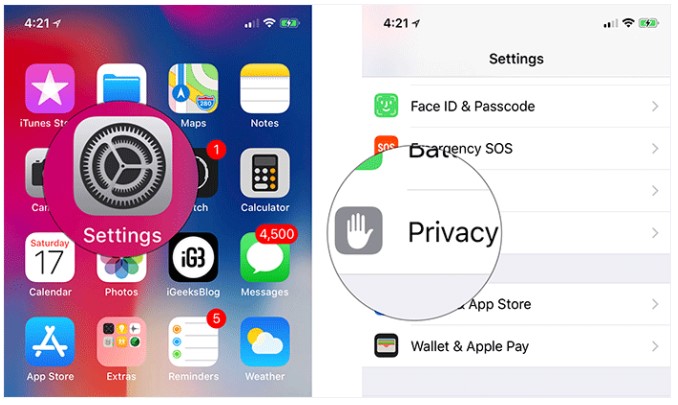



#2 – Turn on Low Power Mode
You can also turn off Siri by enabling the Low Power Mode. Yes, this article was hinged on the fact we don’t want to dig into the Settings app and start tweaking a lot of things around. However, it is still one option on the table.
Although turning on Low Power Mode, will also disable automatic downloads, background app refresh, and disable all visual effects. Though admittedly, it is not as user-friendly as the hack mentioned above.
Go to Settings > Battery > Low Power Mode and turn on the slider.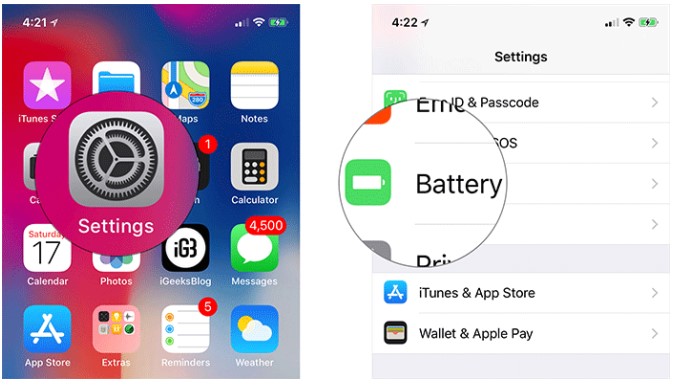

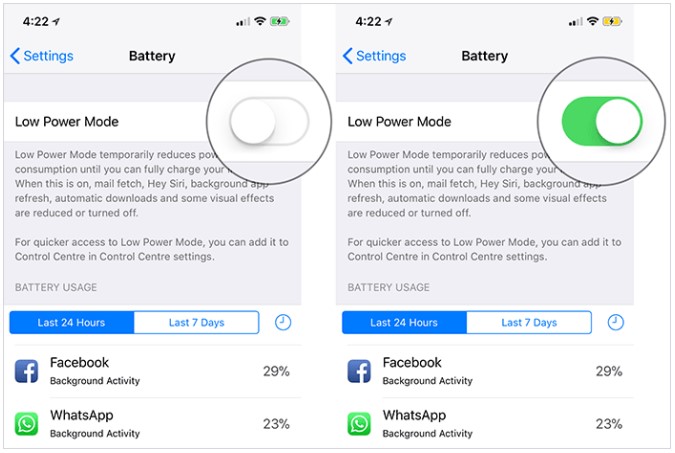

These two trick will disable Siri, though, on the last one, you will have to go back to Settings to turn it on back again.


