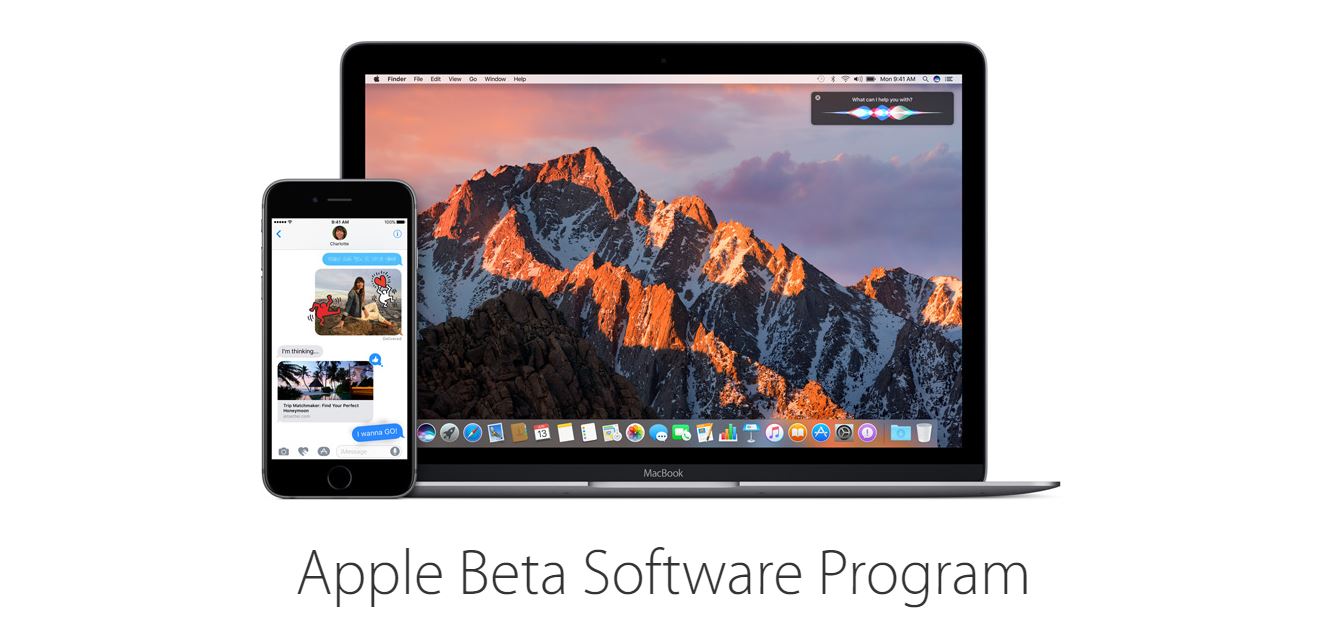
Apple fans must be itching to get their hands on the newest desktop operating system, the MacOS Sierra. This OS followed Microsoft’s path (just like they did with iPad Pro) in bringing the digital assistant across mobile and desktop. Meaning users get to use Siri on both their iPhones and Mac computers.
Officially, MacOS Sierra is supposed to be released sometime in the Fall, but if that is too far for you. You can have it now; given you understands the risks that come with using a beta software. As a disclaimer, please note that a beta software is often unstable, and prone to crashing among other odd behaviors.
So before installing it, make sure you have backed up all your data. However it is not recommended you install it on your primary Mac; if you have another secondary Mac lying around. Better use that for this experimental process. Alternatively, you can create a dual boot on your machine by first creating a separate partition on your primary Mac on which you will install the MacOS Sierra.
How to create Separate Partition
Launch the ‘Disk Utility’ and select the partition you would like to install this experimental OS. On the left panel, click the ‘Partition’ button. Click ‘+’ button found just below the ‘Partition Layout’ diagram.
Select the disk size for the new partition by dragging the wedge of the pie chart, which represents the Mac hard disk space. The MacOS Sierra requires about 5GB storage space, so about 10-15GB should be more than enough. Give the new partition a name, and leave it in OS X Extended (Journaled) Format. Click apply, and give it two-three minutes to create the new partition.
Downloading and Installing MacOS Sierra
Again, you will be reminded to do a backup of your Mac at the Apple Beta Software Program web page. Using your Apple ID, sign in and sign up for the program; if you had not earlier. For backup, you can use Apple’s Time Machine to perform a backup in the easiest way possible.
Click on the blueish ‘Redeem Code’ button on the Apple Beta Software Program site. This action will launch the Mac App Store. Using Safari to the Mac App Store, the code will redeem automatically. If you use a different browser, it will necessitate you to redeem the code manually.
To check on the progress of the MacOS Sierra download, keep checking on the Purchase tab on the Mac App Store. Once the download is complete, next you will need to choose where Sierra will install. If you had created a partition for it, click on ‘Show All Disks’ on the installer Window and select that partition before hitting the ‘Install’ button. Voila, you can use MacOS Sierra now!
[To select which disk partition to load, press and hold down the ‘Option’ key the next time your Mac is booting up]


